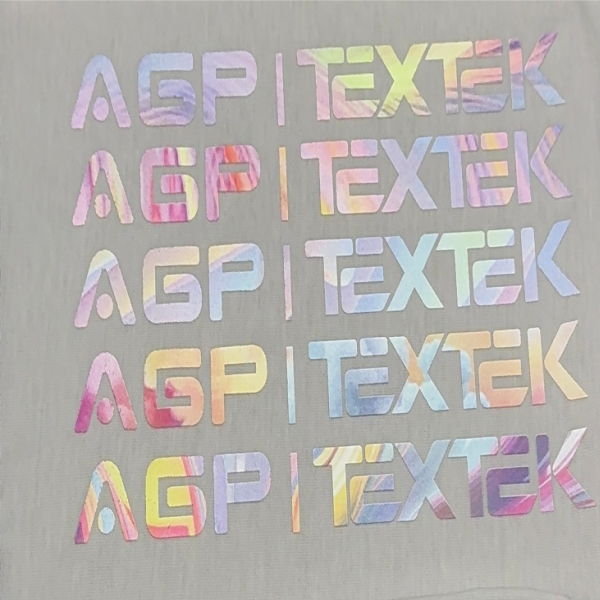
Spot color production process for DTF printing
Spot color production process for DTF printing

one Import picture:
Path: File – Open – selected picture – OK
two Change picture mode:
Path: image mode CMYK color.
After the change is successful, the layer channel will change from RGB to CMYK.
three Select layer
Path: hold down Ctrl and click the layer to be selected by the box. After the box is selected successfully, there will be a dotted line around the required printing pattern.
four Edge shrinking
Path: select Modify shrink. General shrinkage of 1-2 pixels
five Establish spot color channel of white layer
Path: menu at the bottom right of the interface – Channel – right click to create a spot color channel – name W3 – OK
six If you don’t need fluorescent spot color, you can save it directly
Path: Ctrl + Shift + s (save as shortcut) – save as TIFF format
seven Fluorescent spot color (white spot color channel must be established first)
① Turn off the small eyes of the white spot color channel in the channel, click the CMYK channel and return to the layer panel
② Select – color range – dropper click the desired color block – adjust the difference – OK
③ After the dotted line frames the selected area, press Delete (confirm that the channel is CMYK channel)
④ New spot color channel – named W1 / W2 (choose according to your own color)
⑤ Open the white spot color channel small eyes
eight Save as TIFF file