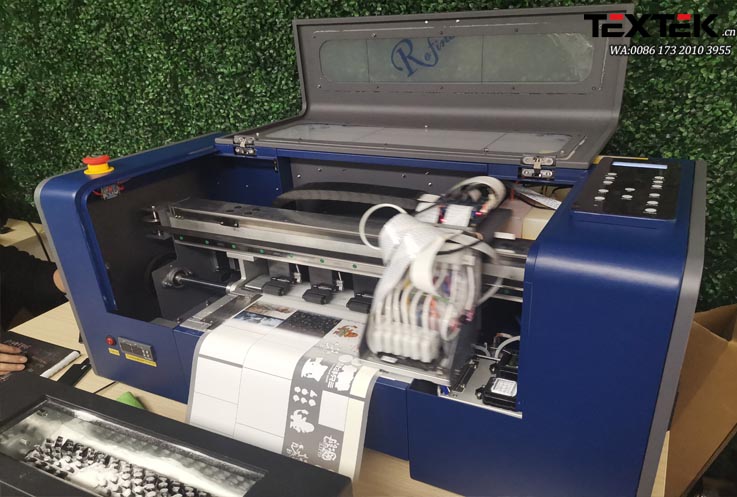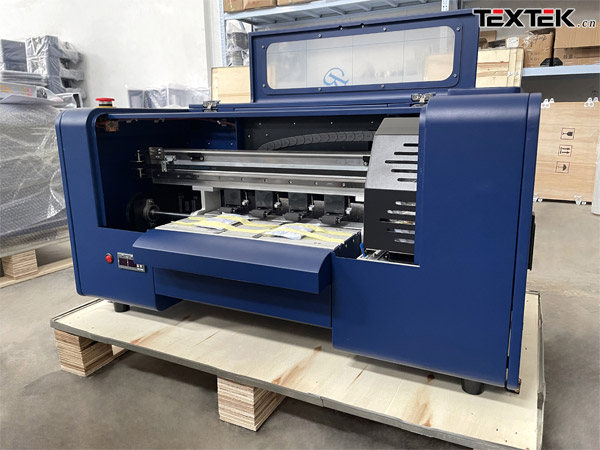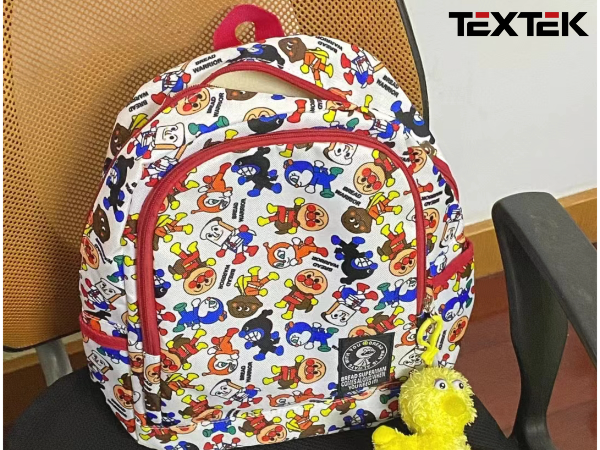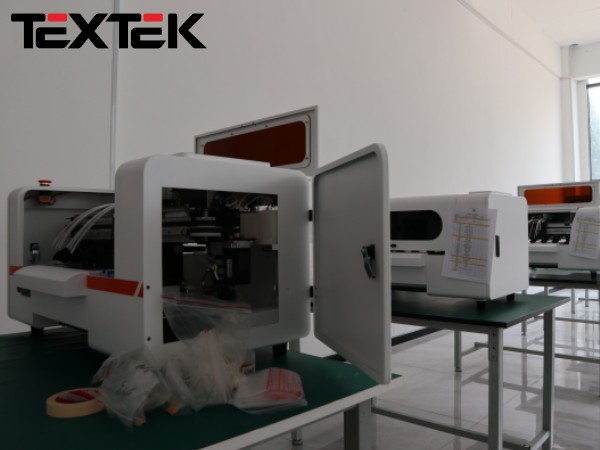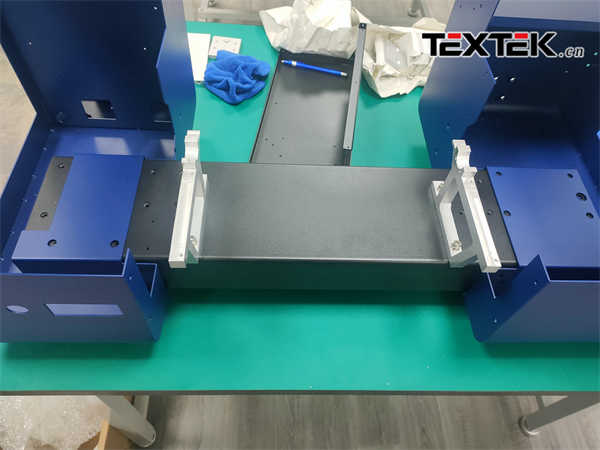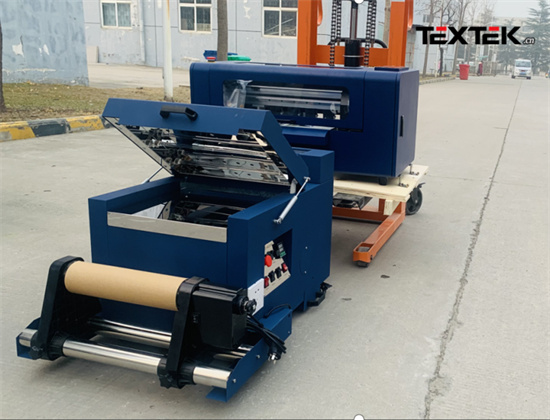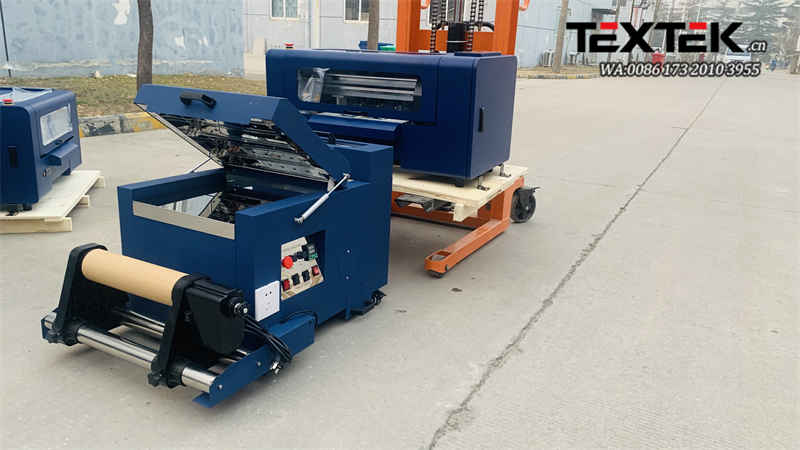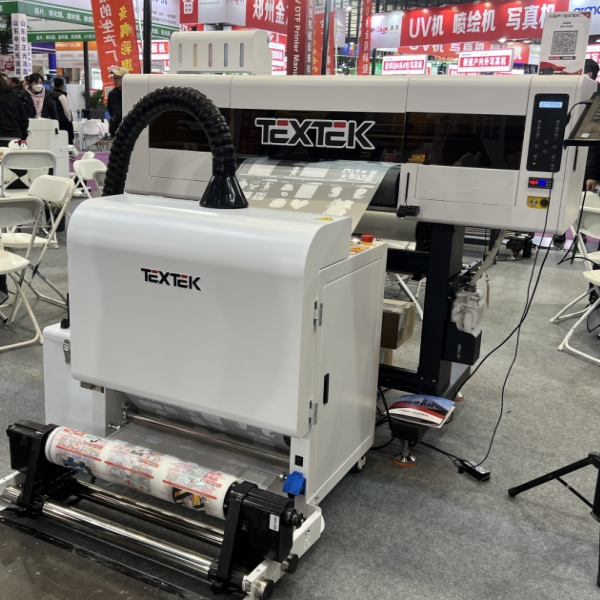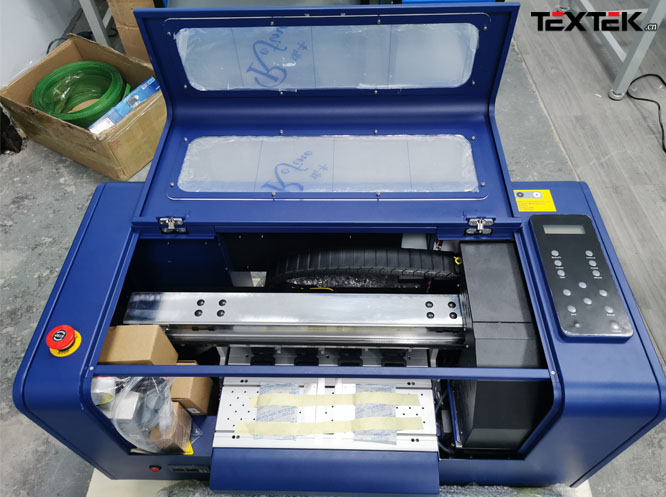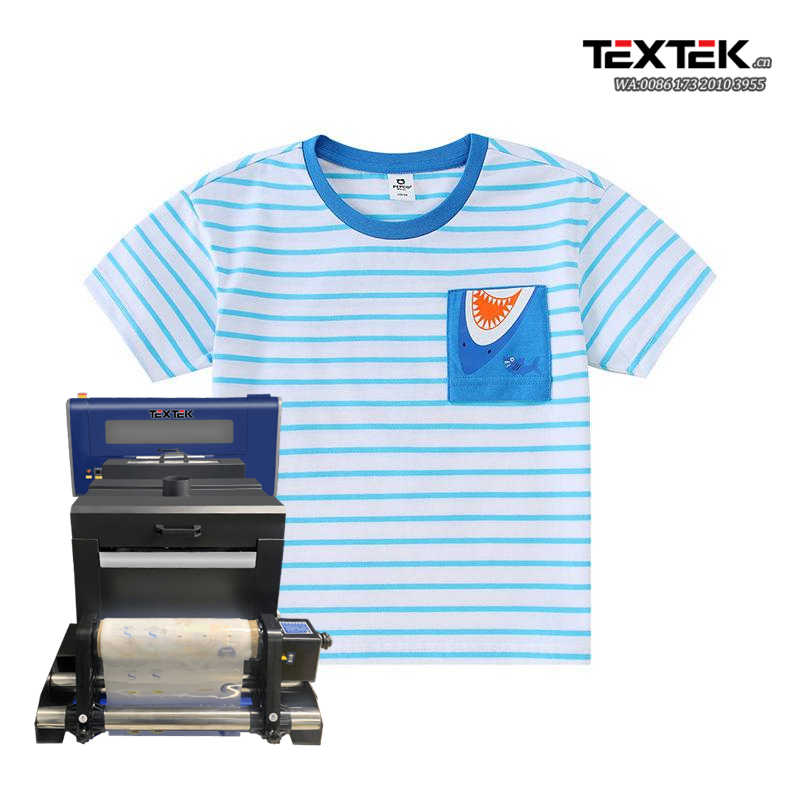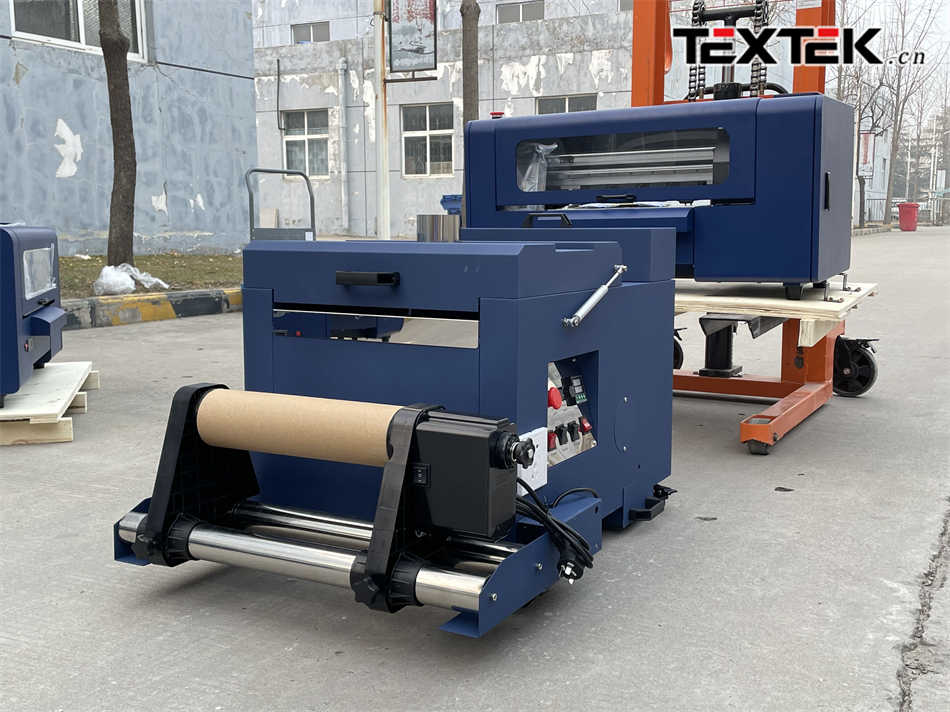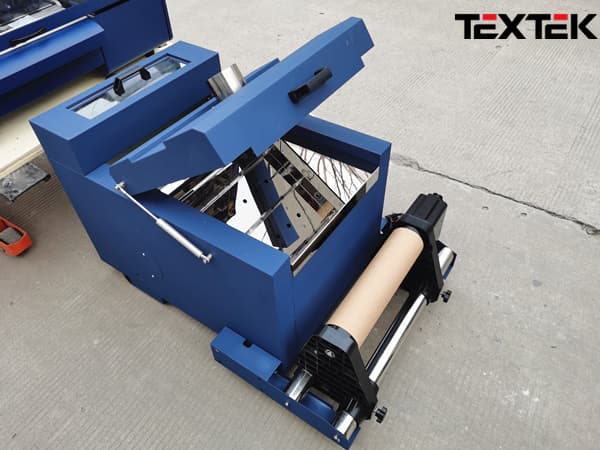
How many steps does it take to install the nozzle in a DTF Printer printing machine?
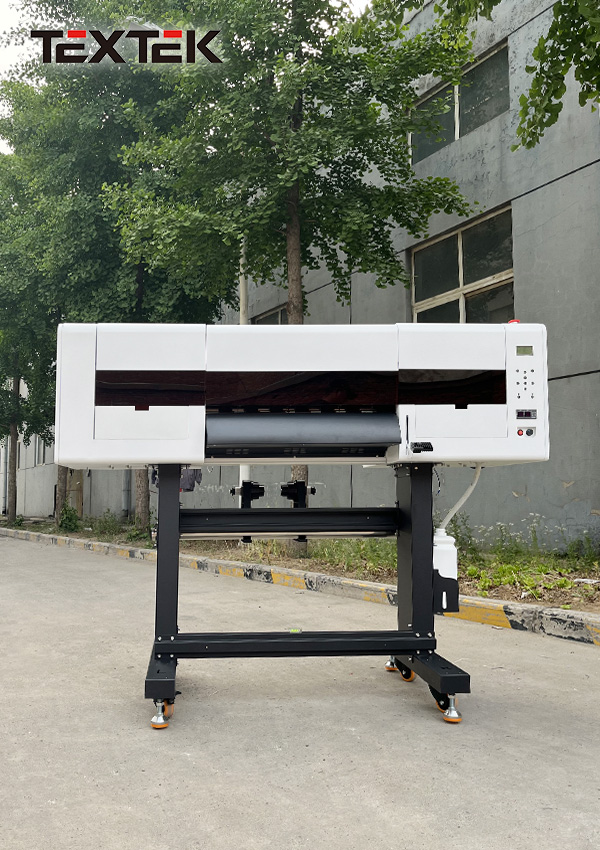
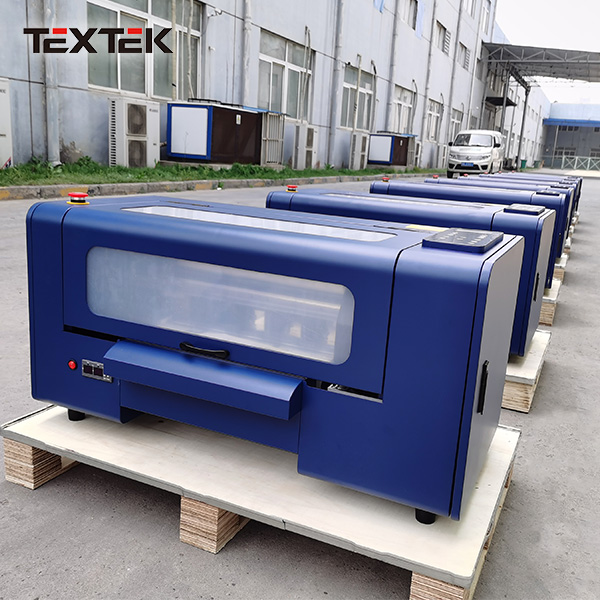
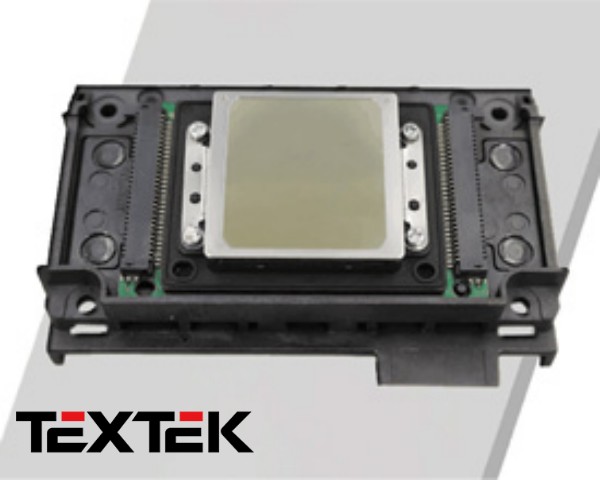
Customers and friends who have worked in the printing industry know that the nozzle of the DTF Printer printing machine is a very easily damaged part. Because the function of the nozzle is inkjet printing, the nozzle of the printer is a very precise part, and it also needs to be maintained. Be careful, it will cause ink blockage or damage if you are not careful. A sprinkler will cost thousands of dollars. If the sprinkler is damaged frequently, the cost will be very high for the manufacturer.
Today, TEXTEK will explain to you the steps that need to be replaced when the nozzle is broken, as well as the details that need to be paid attention to when replacing the nozzle. Otherwise, it is very likely that the new nozzle will be broken before it is installed on the machine. Let’s take a look at how to install the new nozzle!
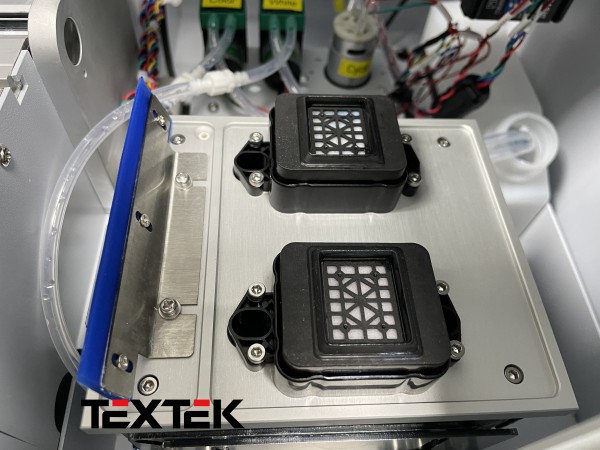
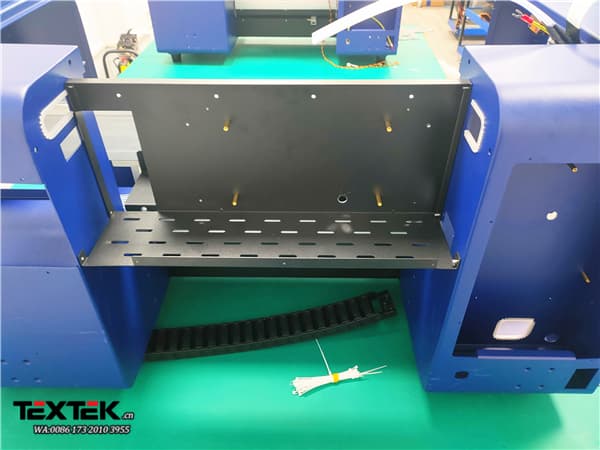
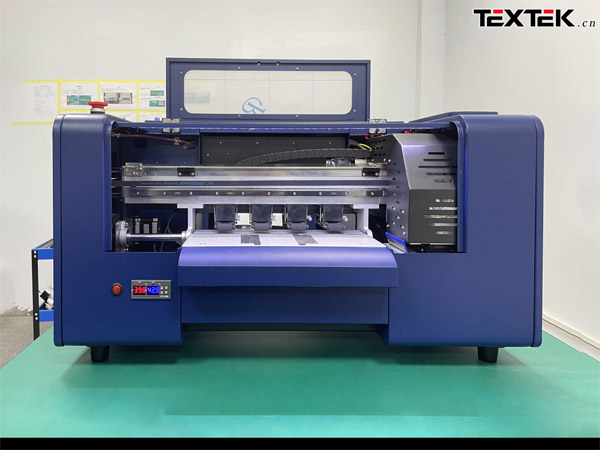
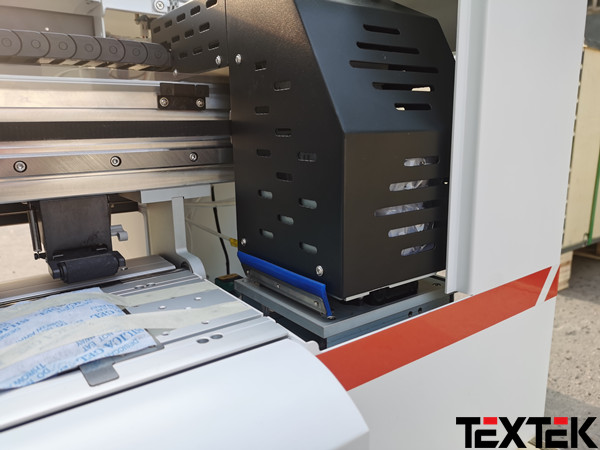
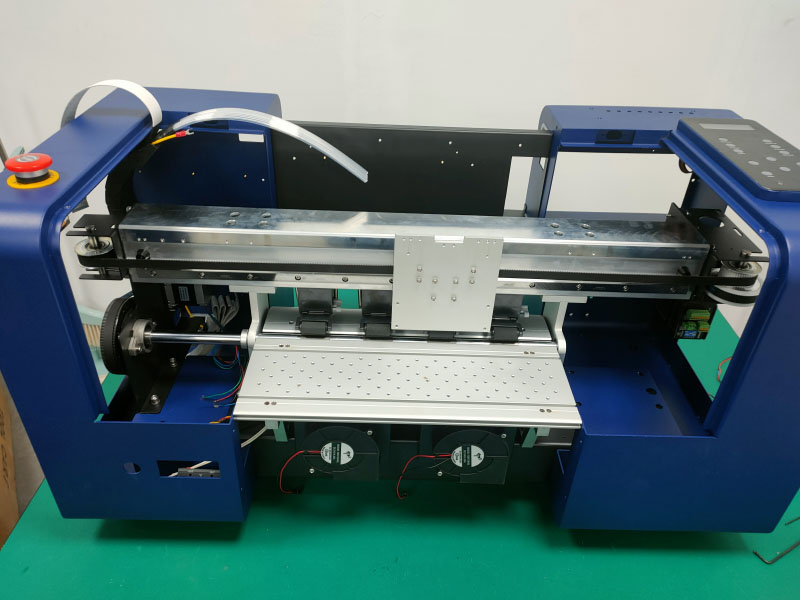
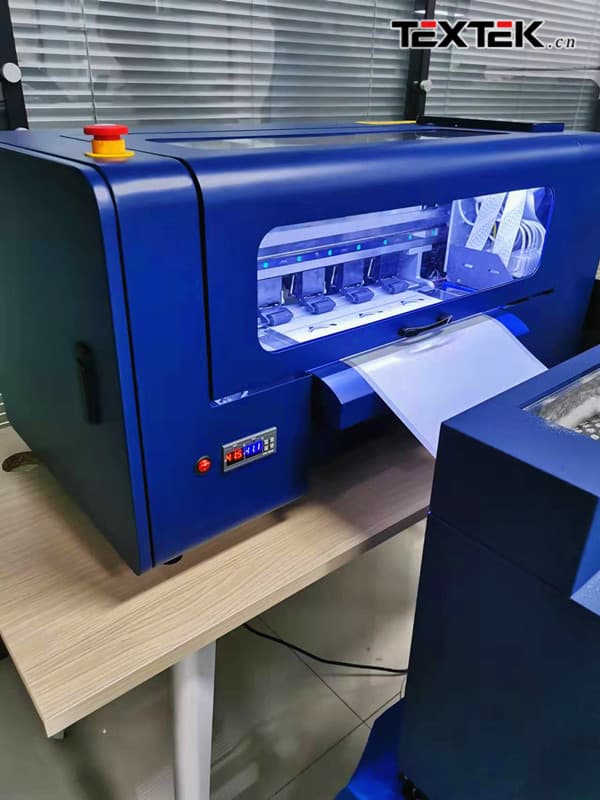
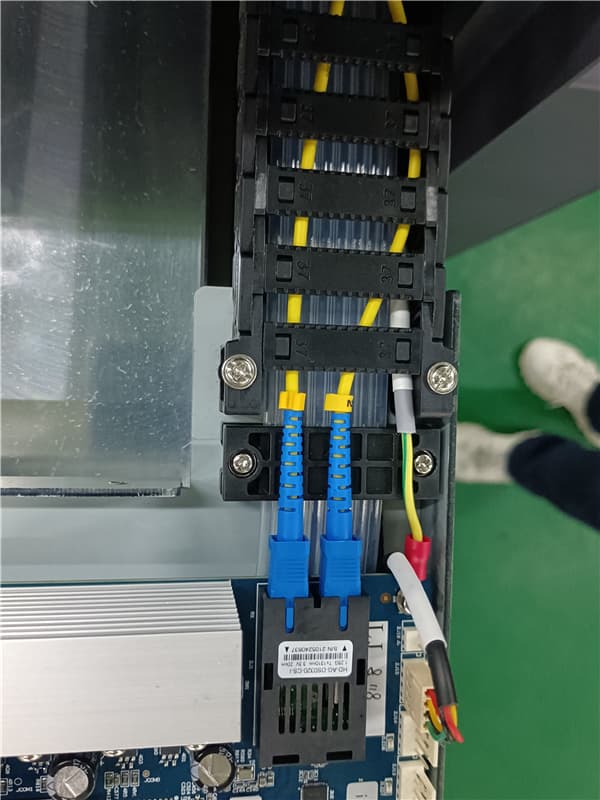
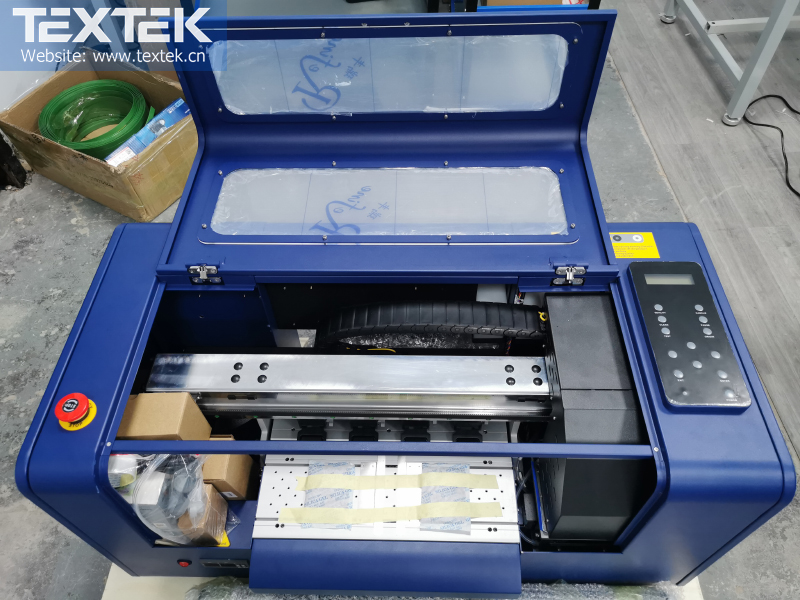
1. Before installing the print head, first make sure that the dtf printer is running normally, the ground wire of the machine is well connected, the voltage on the trolley board is normal, and the power supply voltage of the print head is normal. The easiest way is to use a multimeter to measure whether there is static electricity on the machine, the voltage of the trolley board, and the power supply voltage of the print head, and then disconnect the power supply of the print head.
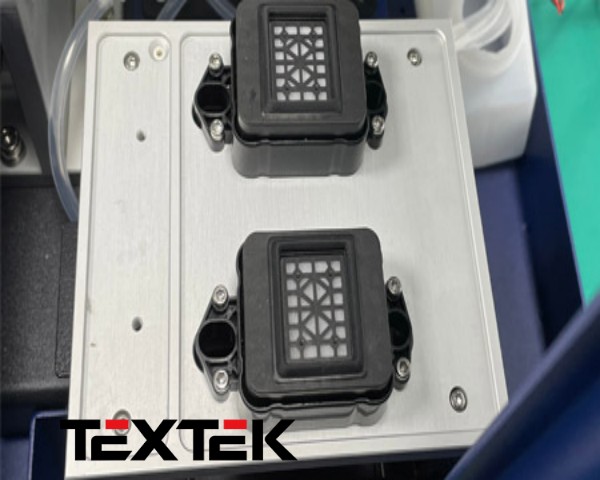
2. Pick up the new nozzle, first remove the air hole seal (that is, the label or sticker attached to the nozzle), pour 70~80% of water or alcohol, and soak!
3. Then put the nozzle of the nozzle down on the paper towel to drip ink for about 2 to 5 minutes, until the ink completely penetrates into the paper towel, then connect the nozzle to the ink needle, and use the ink absorber to slowly suck up the pipe with the nozzle contact upward. Then rotate the nozzle 180 degrees to slowly absorb a small amount of ink with an ink absorber, and finally wipe the contacts and nozzles with a paper towel to perform the machine work.
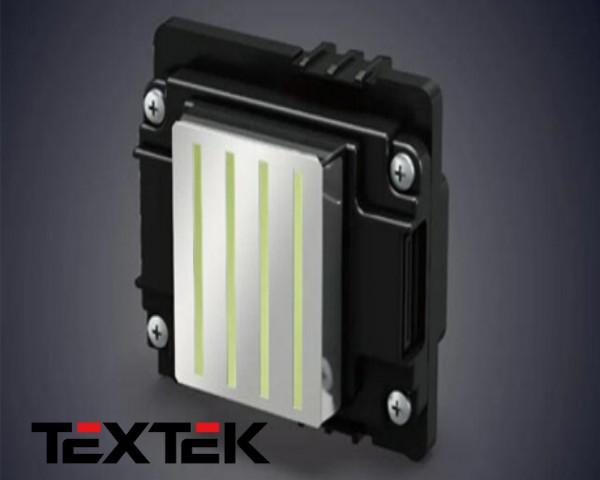
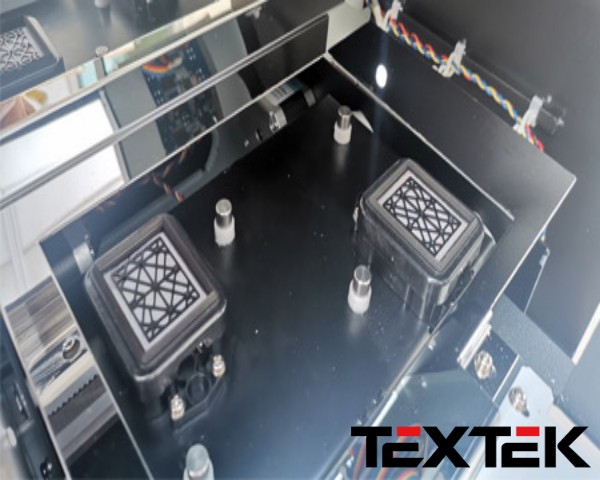
4. After installing the print head on the dtf printer, we have to clean the new print head. Generally, it is best to clean it 3-5 times, and at least clean the print head once. Once the new print head is installed, it must not be touched by hand. Do not remove the surface of the nozzle at will.