1. DTF Printer (supports fluorescent colors)
2. DTF Fluorescent Ink
3. DTF Transfer Film
4. DTF Hot Melt Powder
5. Vest (optional: cotton, polyester, blended materials)
6. Heat Press
7. RIP Design Software (such as FlexiPrint or Maintop)
1. DTF Printer (supports fluorescent colors) 2. DTF Fluorescent Ink 3. DTF Transfer Film 4. DTF Hot Melt Powder 5. Vest (optional: cotton, polyester, blended materials) 6. Heat Press 7. RIP Design Software (such as FlexiPrint or Maintop)
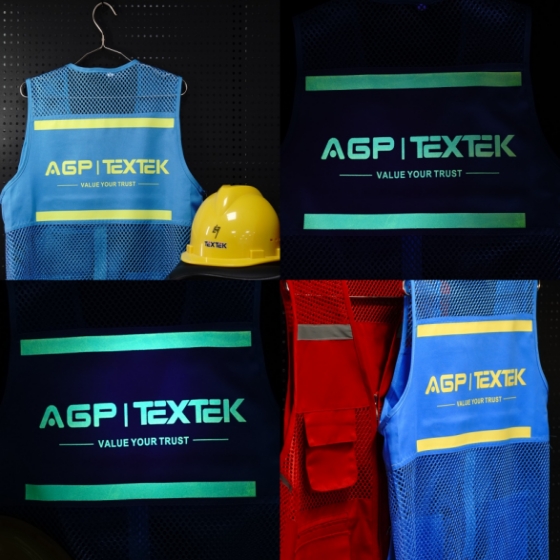
Create your design using RIP design software (e.g., FlexiPrint, CADlink, or Maintop). Ensure the design includes vibrant fluorescent colors.
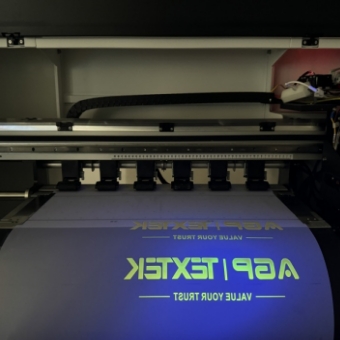
Load the DTF transfer film into the DTF printer and select the appropriate settings for fluorescent ink.
Print the design onto the DTF transfer film using DTF fluorescent ink. Make sure to print in high quality to capture all details.
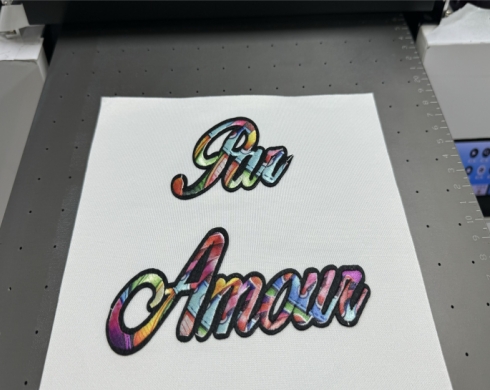
Immediately after printing, apply DTF hot melt powder to the printed film. This powder helps the design adhere to the fabric during the transfer process.
Cure the printed film with the applied powder using a heat press or curing unit. This step ensures the powder bonds with the ink.
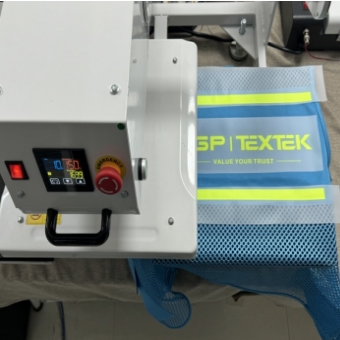
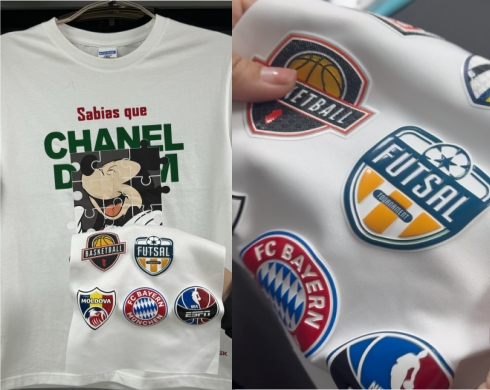
Place the cured transfer film onto the vest (made of cotton, polyester, or blended materials) and use a heat press to transfer the design. Ensure the temperature and pressure are set according to material specifications.
Allow the vest to cool for a few moments before carefully peeling away the transfer film, revealing the vibrant fluorescent design.
.jpg)