Our quality products and best service will make your business much better.
Professional . Specialized . Experienced
(English)
16
Jun
UV DTF (direct-to-film) decals have changed the world of customized products. Crafters often choose this system as a great alternative for small business or home projects. Whether you want cool stickers, attractive cup wraps, or lively shirt prints, choose UV DTF decals and they will efficiently meet all your requirements.
This comprehensive step-by-step guide contains all the information related to making UV DTF decals starting from gathering materials to applying the designs created on them. It also includes different variations of UV DTF cup wraps, stickers, and shirt transfers like using a sublimation printer or even household iron. Let's get into it now!
Are you starting with UV DTF decals? Here are some tools you will need to achieve accurate and precise results.
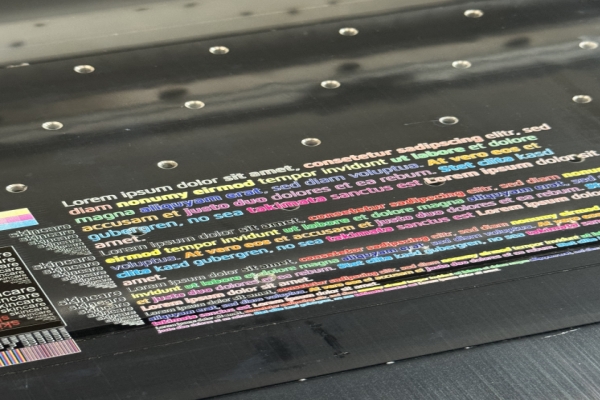
This makes printing stunning and detailed images directly onto film easy.
This UV DTF film holds designs and transfers smoothly.
This glue adheres the design securely to surfaces like tumblers, cups, and more.
Toughens the ink and adhesive making your decals very durable.
All these tools and materials will help you achieve exceptional results for stickers, cup wraps, or other custom projects you may have.
Following these few simple steps, you can easily translate your thoughts into real designs and create trendy decals:
Here are some things that often go wrong when doing UV DTF printing, especially if you're new to it. Stuff, like not curing the ink properly, using low-quality materials, or putting the design on a surface that's not clean, can mess up the result.Here's how to avoid making these mistakes:
To make your UV DTF stickers, start by designing your sticker using graphic software. This could be a logo, quote, or any artwork you like, then load UV DTF film in your UV flatbed printer and print your image; there is no drying time as the UV ink cures immediately providing crisp, bright images. Coat the back side of the printed film with a thin layer of UV adhesive and expose it to UV light to set the adhesive. Once done, peel off the film and adhere your design to a water bottle, laptop, notebook, or anything!
Begin with your transfer placed on the fabric where you want the design. Adjust your iron heat setting to high for either cotton or linen, and cut off the steam. Place a piece of parchment paper over the transfer to shield it from direct heat and then lift the iron and firmly press down for several seconds while moving the iron back and forth slowly to heat the entire design evenly. Allow the fabric to cool slightly, and gently peel the film away to view your completed design.
Learning how to do UV DTF decals unlocks a wide creative world. You can make your stickers, wraps for cups or mugs, or even shirt transfers; using this method, you can put your design on just about anything.
So, armed with the facts, it's time to get to work! Play with designs, try various surfaces, and see your personalized UV DTF creations come to life. Good luck with your DTF adventures!


