Our quality products and best service will make your business much better.
Professional . Specialized . Experienced
(English)
07
Jan
If your transfers are peeling or showing unsightly bubbles, you are likely missing a critical step in the standardized production chain.
Adhesion failure is rarely a single-cause problem. It usually stems from surface contamination or incorrect curing parameters.
The #1 enemy of UV DTF is invisible oils. Fingerprints, factory dust, or storage residue create a barrier that prevents the adhesive from bonding.
The Fix: Clean every substrate with 90% Isopropyl Alcohol and a lint-free microfiber cloth. Do not use household glass cleaners, as many contain silicone, which actively repels UV adhesives.
UV DTF ink and the "A" film adhesive must be cured precisely by the printer’s UV lamp.
The Technical Standard: If the UV light is too weak, the ink remains tacky and unstable. If it is too intense, the adhesive can become brittle, losing its "tack."
The Fix: Regularly calibrate your UV lamp intensity and ensure your printing speed matches the curing power of the machine.
Cold surfaces can cause the adhesive to "freeze" before it can properly wet the substrate.
The Fix: In colder environments, use a heat gun or hairdryer to gently warm the surface (about 30°C - 35°C) before application. This "activates" the adhesive for a stronger initial bite.
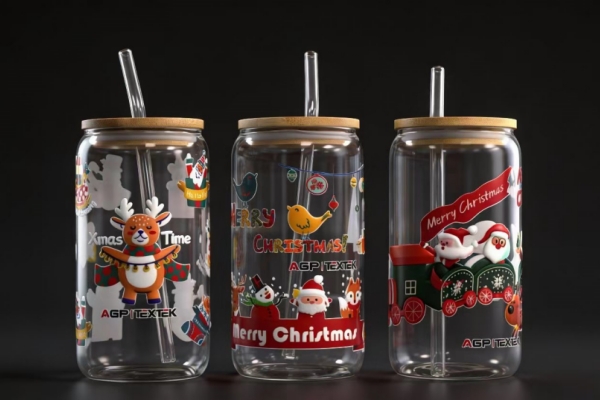
Bubbles are trapped air pockets that occur when the transfer is applied too quickly or with uneven pressure, especially on curved surfaces like tumblers.
Applying the entire sticker at once is a recipe for trapped air.
The Workflow: Start by adhering only a small strip in the center of the design. Using a felt-edge squeegee, work your way outward toward the edges in overlapping strokes. This "pushes" the air out ahead of the bond.
On tapered or cylindrical items, the UV film often wants to "crease," which creates long, tunnel-like bubbles.
The Fix: For large wraps, use the "Hinge Method." Tape one side of the transfer in place, peel back half the backing, and apply it slowly. This ensures perfect alignment and zero tension-induced bubbles.
If a bubble appears after the transfer is applied:
The Fix: Do not try to rub it out with force, as this can stretch the design. Use a fine needle or pin to prick the edge of the bubble, then gently press the air out toward the hole.
While UV DTF is "instant," the chemical bond actually strengthens over time.
The Standard: Advise customers to wait 24 hours before heavy use or washing. This allows the adhesive to fully "set" into the microscopic pores of the substrate.
At TEXTEK, we emphasize that every batch of film and ink should undergo a rigorous quality inspection. Testing your "A" and "B" film compatibility under high-humidity conditions is essential for maintaining excellent reliability in your production line.


