Our quality products and best service will make your business much better.
Professional . Specialized . Experienced
(English)
23
Dec
To achieve a perfect cure in UV printing, you aren't just "drying" ink; you are triggering a photochemical reaction. Unlike water-based inks, which dry through evaporation, UV inks remain liquid until exposed to specific wavelengths of UV-LED light, instantly converting liquid monomers into a solid polymer chain.
Here is the technical breakdown of how to achieve a perfect cure across different materials without the use of tables.
Achieving a professional-grade finish depends on the balance between three critical factors:
Wavelength (Nanometers): Most industrial UV printers use LED lamps emitting at 365nm to 395nm. This range is optimized to trigger photoinitiators without damaging heat-sensitive substrates.
Irradiance (Intensity): This is the "brightness" of the UV light. High intensity is required for thick ink layers or 3D textures to ensure the ink cures all the way to the bottom.
Energy Density (Dosage): This is the total amount of light received over time. If the carriage moves too fast, the ink may suffer from "under-curing," leaving the surface tacky or sticky.
Different materials require specific curing strategies to prevent peeling or "ink chipping."
Because these materials don't absorb ink, you rely entirely on a chemical bond.
The Strategy: Always use a UV Primer before printing to create a bonding layer.
Curing Tip: Use a "Bi-directional" cure where the UV lamp passes over the ink twice. This ensures maximum cross-linking at the bond site.
Excessive UV exposure generates heat, which can warp or melt thin plastics.
The Strategy: Use a printer with Adjustable LED Intensity to control heat output.
Curing Tip: Lower the lamp power, but slow down the print speed. This maintains the necessary energy density without causing a heat spike.
The timing of your UV light exposure determines the final sheen and texture of the product.
For a High-Gloss Finish: Delay the UV curing by a fraction of a second. This allows the ink to "level out" and become perfectly smooth and reflective before it hardens.
For a Matte Finish: Trigger the UV light instantly as the ink hits the substrate. This "freezes" the ink droplets in their rounded shape, which scatters light and creates a non-reflective surface.
Sticky or Tacky Surface: This is usually caused by under-curing. To fix this, you should either slow down your print speed or increase your lamp's power.
Ink Cracking: This is a sign of over-curing. Try reducing the UV intensity or check if you are using "Hard" ink instead of "Soft" ink for flexible materials.
Ink Peeling: This indicates poor adhesion. Ensure you apply a specialized UV primer or thoroughly clean the substrate with Isopropyl Alcohol before printing.
Yellowing of Clear Ink: This is often caused by excessive heat. Lower your LED power and verify that your lamp wavelength is set to 395nm.
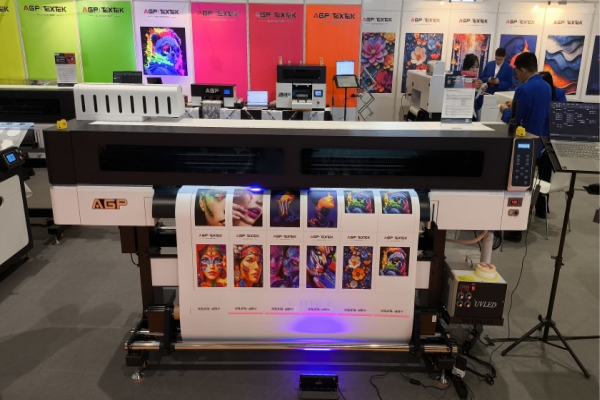
The TEXTEK UV Printer 6090 is specifically engineered for precision curing on rigid objects. It features low-heat LED lamps that allow for printing on electronic devices and heat-sensitive plastics without risk of damage. It is an ideal choice for high-end promotional items requiring smooth gloss or matte finishes.
Another reliable option for smaller gift items is the hybrid UV printer 3040, which offers a compact flatbed footprint with consistent UV-LED curing capabilities.


